Admin & Settings Guide
Last updated: 2026-04-29
Status: Stable
Audience: URIP Administrators, Super-Admins
Purpose
This guide covers all administrative functions: tenant provisioning, user management, RBAC, MFA policy, module configuration, and risk scoring customisation.
Role Hierarchy
| Role | Description | Access |
|---|---|---|
| Viewer | Read-only analyst | Dashboard, Risk Register (read), Reports, Compliance (read) |
| Analyst | Active security analyst | Viewer + assign risks, add comments, upload evidence, change risk status |
| CISO | Security program lead | Analyst + configure connectors, manage users in their organisation, export, trigger Run Now |
| Compliance Officer | Compliance specialist | Analyst + full compliance module (manage frameworks, invite auditors, generate reports) |
| Super-Admin | Platform administrator | All access including multi-tenant management, module licensing, scoring configuration |
Only Super-Admins can access the Tenant Management, Module Management, and Scoring Configuration admin pages.
Role-Permissions Matrix
This table shows exactly what each role can do across all URIP features.
| Feature / Action | Viewer | Analyst | CISO | Compliance Officer | Super-Admin | Auditor (read-only) |
|---|---|---|---|---|---|---|
| View Risk Dashboard | ✓ | ✓ | ✓ | ✓ | ✓ | ✗ |
| View Risk Register | ✓ | ✓ | ✓ | ✓ | ✓ | ✗ |
| View Threat Intel | ✓ | ✓ | ✓ | ✓ | ✓ | ✗ |
| View Asset Inventory | ✓ | ✓ | ✓ | ✓ | ✓ | ✗ |
| Assign / comment on risks | ✗ | ✓ | ✓ | ✓ | ✓ | ✗ |
| Accept / suppress risks | ✗ | ✗ | ✓ | ✓ | ✓ | ✗ |
| Bulk actions on risks | ✗ | ✗ | ✓ | ✓ | ✓ | ✗ |
| Configure connectors | ✗ | ✗ | ✓ | ✗ | ✓ | ✗ |
| Test / run connector poll | ✗ | ✗ | ✓ | ✗ | ✓ | ✗ |
| Invite / manage users | ✗ | ✗ | ✓ | ✗ | ✓ | ✗ |
| Reset user MFA | ✗ | ✗ | ✓ | ✗ | ✓ | ✗ |
| Change user roles | ✗ | ✗ | ✓ | ✗ | ✓ | ✗ |
| Activate compliance frameworks | ✗ | ✗ | ✗ | ✓ | ✓ | ✗ |
| Upload evidence | ✗ | ✓ | ✓ | ✓ | ✓ | ✗ |
| Invite auditors | ✗ | ✗ | ✗ | ✓ | ✓ | ✗ |
| Generate compliance reports | ✗ | ✗ | ✗ | ✓ | ✓ | ✗ |
| View compliance controls | ✓ | ✓ | ✓ | ✓ | ✓ | ✓ (scoped) |
| View evidence (auditor scope) | ✗ | ✗ | ✗ | ✗ | ✓ | ✓ |
| Request evidence | ✗ | ✗ | ✗ | ✗ | ✗ | ✓ |
| Manage modules / tenants | ✗ | ✗ | ✗ | ✗ | ✓ | ✗ |
| Configure scoring weights | ✗ | ✗ | ✗ | ✗ | ✓ | ✗ |
| View audit log | ✗ | ✗ | ✓ | ✗ | ✓ | ✗ |
| Export data / reports | ✗ | ✗ | ✓ | ✓ | ✓ | ✗ |
Auditor note: The Auditor role is not a regular user account. Auditors access URIP via time-bound invitation links scoped to specific frameworks. They cannot see risks, dashboards, or assets — only compliance controls, evidence, and policies for the frameworks they were invited to audit.
Settings Page (/settings.html)
Available to ciso role and above.
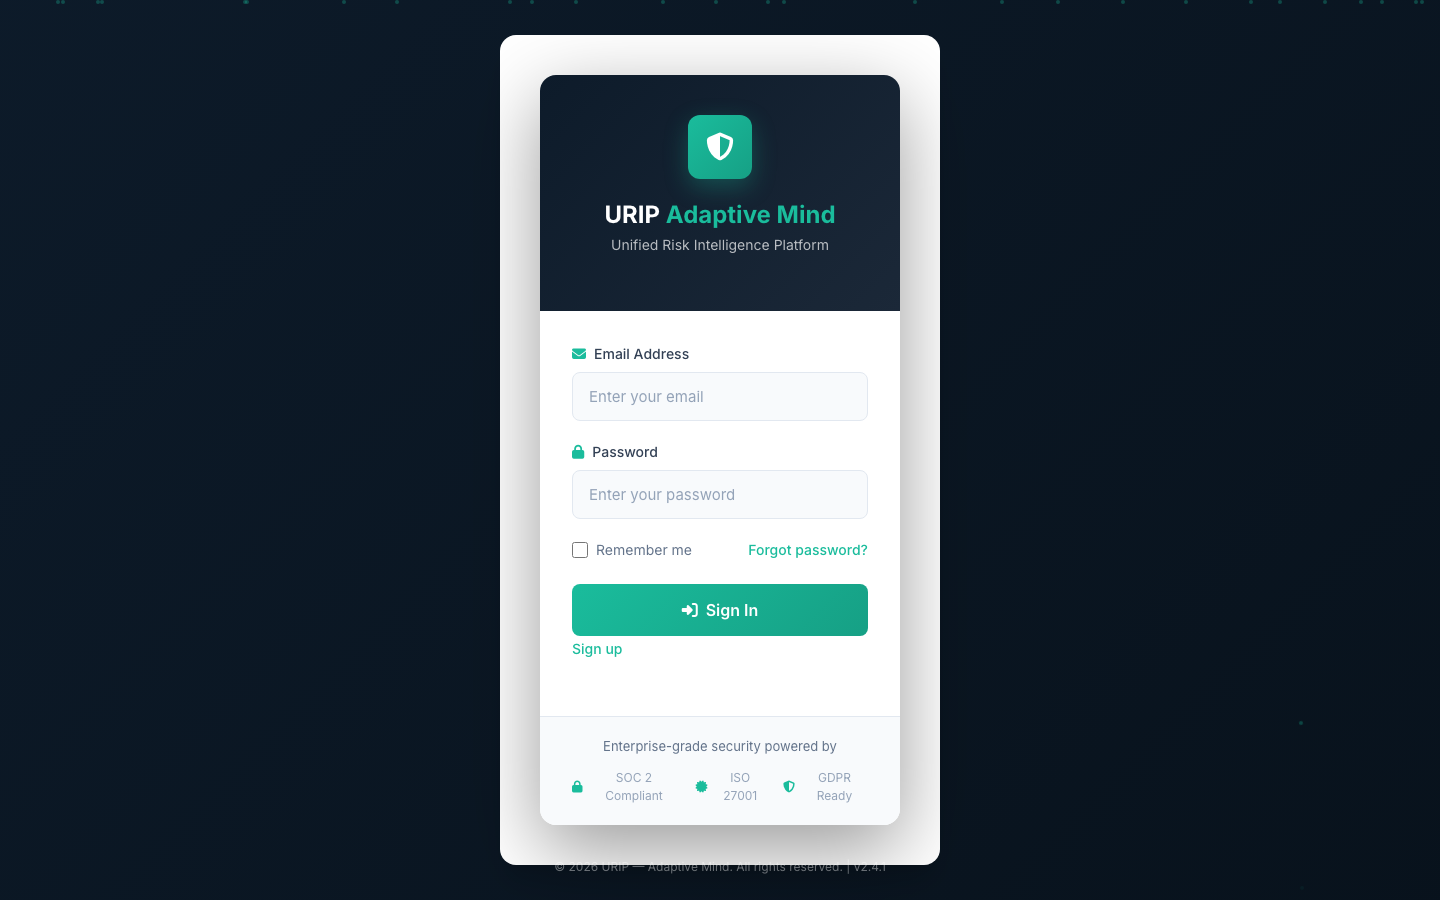
The Settings page screenshot above shows the Users tab with role management and MFA status indicators.
Users Tab
View users: Table showing all users in your tenant with email, name, role, and MFA status.
Invite a user: 1. Click Invite User 2. Enter the new user's email address 3. Select their role 4. Click Send Invitation
The user receives an invitation email with a link to /register.html pre-filled with your Tenant ID. They set their own password.
No self-serve sign-up: Users can only register if they have a Tenant ID from an admin. The registration form at
/register.htmlrequires a valid Tenant ID.
Change a user's role: 1. Find the user in the table 2. Click the role dropdown in their row 3. Select the new role 4. Save
Reset MFA: 1. Find the user in the table 2. Click the MFA column indicator 3. Click Reset MFA
The user must re-enroll MFA on next login.
Deactivate a user: Click the action menu (⋮) → Deactivate. The user's session is invalidated immediately. Their historical actions remain in the audit log.
Tip before deactivating: Reassign the user's open risks first. Deactivation does not automatically close or reassign their assignments.
"I Forgot My Password and I Don't Have My Recovery Codes"
If a user loses their password AND their MFA backup codes:
- The user should contact their URIP administrator (usually the CISO or Super-Admin)
- The administrator navigates to Settings → Users
- Finds the user's row and clicks Reset Password (sends a password-reset email)
- Also clicks Reset MFA so the user can re-enrol on next login
- The user checks their email, sets a new password, and re-enrols MFA
If the only admin is locked out: Contact URIP support with proof of identity. MFA cannot be bypassed without identity verification.
Inviting a New User — Step by Step
- Navigate to Settings → Users
- Click Invite User
- Enter the new user's email address (must match your organisation's domain)
- Select their role from the dropdown: - Viewer — for executives and board members who need read-only dashboards - Analyst — for SOC analysts who triage and assign risks - CISO — for security program leads who manage users and connectors - Compliance Officer — for compliance specialists who manage frameworks and auditors
- Click Send Invitation
- The user receives an email with a registration link pre-filled with your Tenant ID
- The user registers, chooses a password, enrols MFA, and is ready
Invitation expired? Invitations expire after 7 days. Go to Settings → Users → find the pending invite → Resend.
Changing Someone's Role
- Navigate to Settings → Users
- Find the user in the table
- Click the Role dropdown in their row
- Select the new role
- Click Save
The change takes effect immediately. The user's next page refresh will show or hide features based on their new role. No re-login is required.
Cancelling Your Subscription and Exporting Data
URIP is enterprise-only — there is no self-serve cancellation button.
To cancel or downgrade: 1. Contact your URIP account manager or email support 2. Specify your Tenant ID and the reason for cancellation 3. Your account manager will confirm the effective date
To export all your data before leaving: 1. A Super-Admin navigates to Admin → Tenant Detail 2. Click Export All Data — this generates a ZIP containing: - All risk records (CSV) - All asset inventory (CSV) - All compliance evidence (files) - Full audit log (CSV) - Connector configuration metadata (no credentials — those are encrypted and unexportable) 3. The export is prepared in the background and a download link is emailed to the requesting admin
Data retention after cancellation: Your data is retained for 90 days to support reactivation, then securely erased. If you need immediate deletion, request it during cancellation.
Connectors Tab
Read-only view of all connectors configured in your tenant: - Connector name, status, last poll, records ingested - Health indicator - Link to open in Tool Catalog for re-configuration
Admin — Tenant Management (/admin-tenants.html)
Super-admin only.
Creating a Tenant
- Navigate to
/admin-tenants.html - Click New Tenant
- Fill in:
- Slug — URL-safe identifier (e.g.,
acme-corp) — used in Trust Center URLs - Display Name — shown in the URIP UI - Admin Email — initial admin user email - Plan — which license tier - Logo URL (optional) — tenant branding - Primary/Secondary/Accent Colours (optional) — hex codes for white-labelling - Click Create
A Tenant ID (UUID) is generated and shown. Share this with the tenant's users for registration.
Tenant Detail (/admin-tenant-detail.html)
Shows all information for a single tenant: - Basic info (slug, display name, plan) - Active modules - User list with role management - Connector configuration status - Recent audit log entries
White-labelling: Upload the tenant's logo and set brand colours. The login page, dashboard, exports, and auditor invitations will all carry the tenant's branding.
Admin — Module Management (/admin-modules.html)
Super-admin only. Controls which capability modules are available per tenant.
Module list:
| Module Code | Module Name | Default |
|---|---|---|
CORE |
Core platform | Always enabled |
VM |
Vulnerability Management | Enabled |
EDR |
Endpoint Detection | Enabled |
CSPM |
Cloud Security Posture | Optional |
DSPM |
Data Security Posture | Optional |
AI_SECURITY |
AI Security | Optional |
ZTNA |
Zero Trust Network Access | Optional |
ATTACK_PATH |
Attack Path Analysis | Optional |
RISK_QUANT |
Cyber Risk Quantification | Optional |
COMPLIANCE |
Compliance Module | Optional |
VAPT_PORTAL |
VAPT Vendor Portal | Optional |
TRUST_CENTER |
Trust Center | Optional |
AUTO_REMEDIATION |
Auto-Remediation | Optional |
TICKETING |
Jira/ServiceNow Integration | Optional |
WORKFLOWS |
Workflow Automation | Optional |
To enable a module for a tenant:
1. Navigate to /admin-modules.html
2. Select the tenant from the dropdown
3. Find the module and toggle Enabled
4. Effect is immediate — users in that tenant see the module in their navigation
When a module is disabled, all pages and features for that module are hidden from users in that organisation immediately.
Admin — Scoring Configuration (/admin-scoring.html)
Super-admin only. Customise the risk scoring formula weights and SLA bands per tenant.
Scoring Weights
The URIP risk score combines four signals: base vulnerability severity (CVSS), exploit probability (EPSS), active exploitation status (CISA KEV), and the business criticality of the affected asset. Each signal has a default weight that you can adjust to match your organisation's risk tolerance.
| Signal | Default weighting | What it represents |
|---|---|---|
| Base vulnerability severity | Standard weight | How severe the vulnerability is theoretically |
| Exploit probability | High weight | How likely it is to be exploited in the next 30 days |
| Active exploitation (KEV) | Significant bonus | Whether it is being exploited by attackers right now |
| Asset tier (T1–T4) | ±adjustment | How business-critical the affected system is |
Note: Changing weights does not retroactively update existing risk scores. It applies to all new findings after the change. To recompute existing scores with the new weights, click Recompute All Scores after saving.
SLA Bands
Default SLAs:
| Severity | Default SLA | Configurable range |
|---|---|---|
| Critical | 7 days | 1 – 30 days |
| High | 30 days | 7 – 90 days |
| Medium | 90 days | 30 – 180 days |
| Low | 180 days | 60 – 365 days |
SLA breaches trigger the SLA Banner on the dashboard and appear in the Remediation Tracker overdue list.
Asset Tier Keywords
Asset criticality tiers are auto-assigned based on hostname keyword matching. Default classifier:
| Tier | Auto-assign keywords |
|---|---|
| T1 | prd, prod, production, db, database, dc, domain-controller, plc, scada, ot |
| T2 | stg, staging, uat, preprod, int, integration |
| T3 | (all others — default tier) |
| T4 | lab, test, dev, canteen, guest, sandbox |
To customise: Admin → Scoring → Asset Tier Keywords → add/remove keywords per tier.
Assets can also be manually reclassified at /asset-inventory.html → click asset → Edit Tier.
MFA Policy
MFA is mandatory for all users and cannot be disabled at the platform level.
Per-user MFA management: - Admin resets MFA: Settings → Users → click MFA status → Reset MFA - User re-enrolls on next login
MFA settings: - Standard 6-digit time-based code (updates every 30 seconds) - Compatible with any standard authenticator app - Tolerates minor clock drift (up to 30 seconds) - Backup codes generated at enrolment for emergency access
Audit Log
URL: /audit-log.html (requires ciso role)
The audit log records every significant action in the platform:
| Category | Events logged |
|---|---|
| Authentication | Login, logout, MFA enroll, MFA reset, password change, failed attempts |
| Risk management | Risk created, assigned, status changed, accepted, comment added |
| Connector | Credential saved, test run, deleted, poll triggered |
| User management | User created, role changed, deactivated, MFA reset |
| Compliance | Framework activated, control status changed, evidence uploaded, auditor invited |
| Admin | Tenant created, module enabled/disabled, scoring config changed |
Tamper-evident design: Each audit log entry is cryptographically linked to the previous one. Any deletion or modification of records is detectable — this is what makes the log suitable for regulatory and audit evidence.
Export: The audit log is exportable as CSV for external audit purposes. The export is itself logged.
Global Search (/global-search.html)
The global search bar (header, or navigate to /global-search.html) searches across:
- Risks (by title, CVE ID, asset name)
- Assets (by hostname, IP, MAC)
- Compliance controls (by code or title)
- Policies (by name)
- Users (by name or email)
Results are scope-limited to your tenant. Super-admins see results across all tenants when using the admin search.
Notifications (/notifications.html)
The notification bell (top-right) shows: - Risk SLA breaches - New KEV entries matching your open risks - Connector errors - Auto-remediation approval requests - New auditor evidence requests
Notification preferences: Click the bell → Preferences to configure which events generate email notifications and which are in-app only.
Common Admin Pitfalls
- Changing scoring weights: Does not retroactively update existing risks. Run "Recompute All Scores" if you want to see the effect on existing findings.
- Deactivating a user: Does not close their open risk assignments. Reassign their risks first.
- Disabling a module: Does not delete the data collected for that module. Re-enabling the module restores access to historical data.
- Tenant slug: Cannot be changed after creation (it's embedded in Trust Center URLs). Choose carefully.