URIP Quickstart Guide
Last updated: 2026-04-29 Status: Stable Time to complete: ~15 minutes
Purpose
Get from zero to a live, populated URIP dashboard. By the end of this guide you will have:
- A working login session
- At least one connector pulling real findings
- Your first risk visible in the risk register
- Multi-factor authentication enrolled
Prerequisites
- An invitation from your URIP administrator (contains your Tenant ID)
- Your corporate email address
- API credentials for at least one security tool (see CONNECTOR_CATALOGUE.md)
- An authenticator app on your phone (Google Authenticator, Authy, 1Password, or similar)
Enterprise accounts only. URIP does not offer public self-serve sign-up. If you have not received an invitation, ask your CISO or IT administrator to provision your account.
Step 1 — Register Your Account
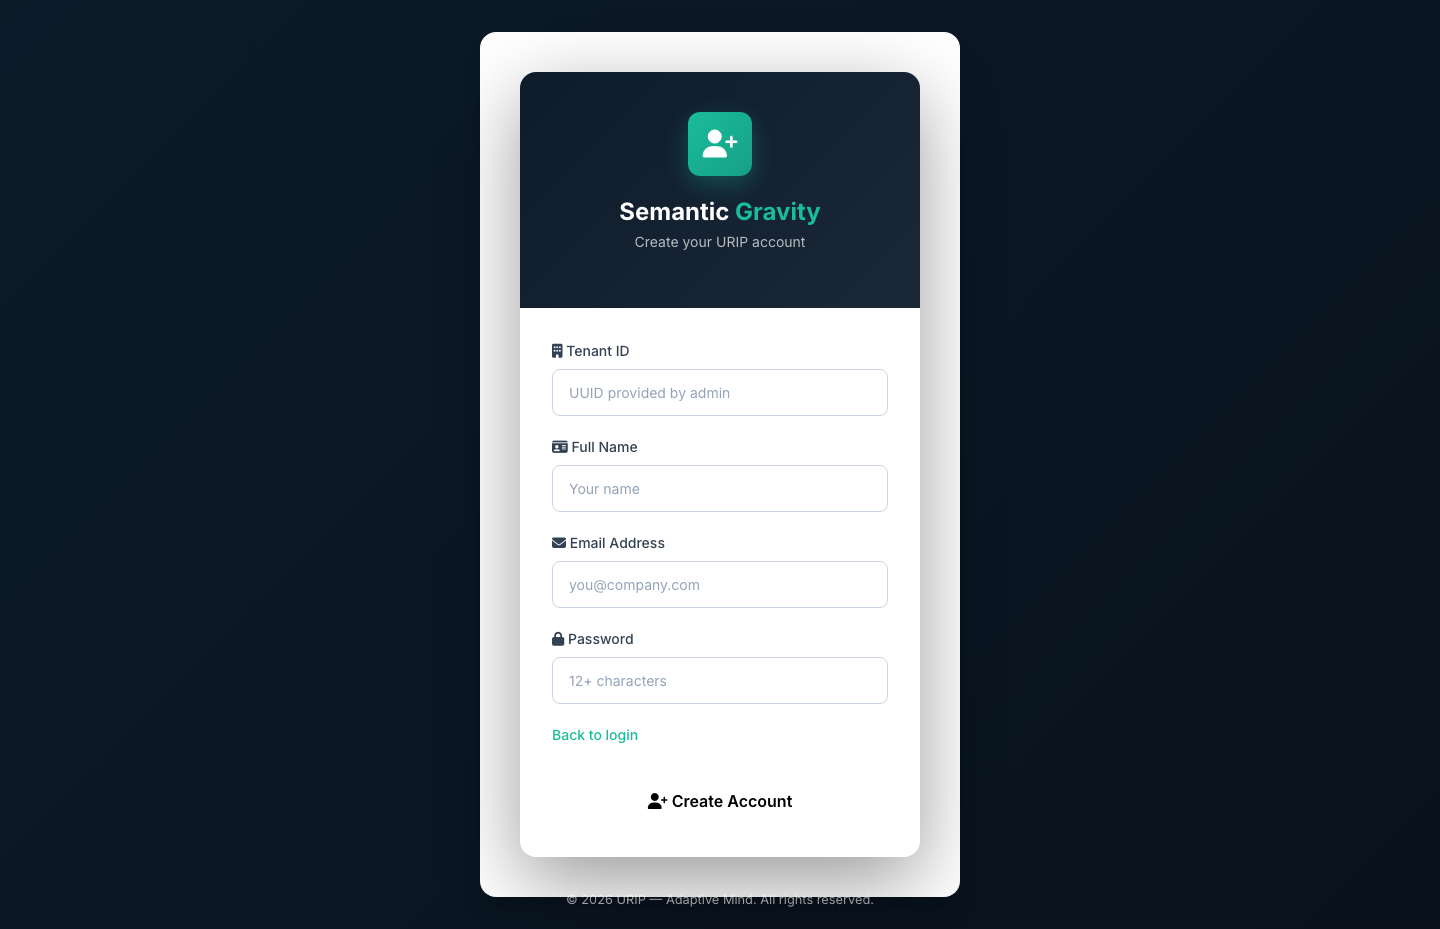
- Open the registration link your administrator sent you
- Enter your Tenant ID — the unique code from your invitation email
- Enter your Full Name
- Enter your Email Address (must match your organisation's domain)
- Choose a Password (12 or more characters, mixing upper and lower case, numbers, and symbols)
- Click Create Account
If the Tenant ID is not recognised, you will see: "Tenant not found — contact your administrator."
Already have an account? Go directly to Step 2 — Sign In.
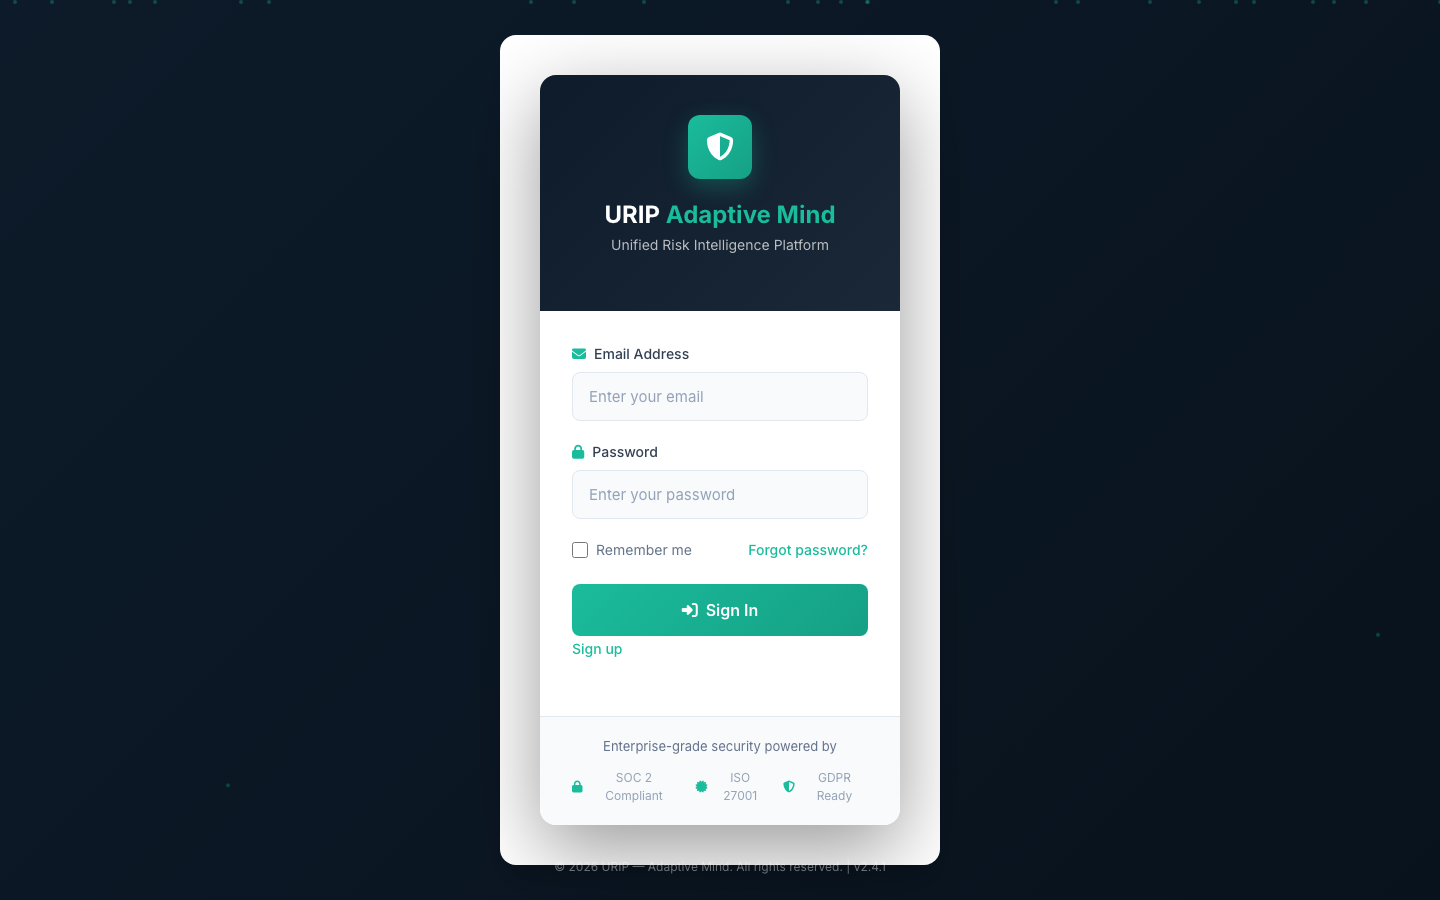
Step 2 — Sign In

- Navigate to your URIP sign-in page
- Enter your Email and Password
- Click Sign In
On your first login you will be taken to multi-factor authentication enrolment.
Common sign-in problems:
- "Invalid credentials" — double-check your email address. Passwords are case-sensitive.
- "Account locked" — after several failed attempts, your account is temporarily locked. Wait 15 minutes and try again, or ask your administrator to unlock it.
- Forgot your password? — Click Forgot password? on the sign-in page. A reset link will be sent to your email address.
- Forgot your password AND lost your MFA recovery codes? — Contact your administrator. They can reset both your password and your MFA from Settings → Users. You will re-enrol MFA on your next login. If your only administrator is locked out, contact URIP support with proof of identity.
See also: Troubleshooting — Login Fails
Step 3 — Enrol Multi-Factor Authentication (First Login Only)
Multi-factor authentication is required for all URIP accounts.
- After your first sign-in, you are taken to the MFA Enrolment screen
- Open your authenticator app
- Scan the QR code shown on screen
- Enter the 6-digit code displayed in your authenticator
- Click Verify & Enable
- Save your backup codes in a safe place — a password manager or printed copy stored securely
From your second login onward, you will be prompted for a 6-digit code from your authenticator after entering your password.
Lost your authenticator? Ask your administrator to reset your MFA from the Settings → Users panel. You will be asked to re-enrol on your next login.
Step 4 — Explore the Dashboard
After signing in you land on the Risk Dashboard.
The dashboard shows:
| Panel | What it shows |
|---|---|
| KPI strip | Total open risks, broken down by Critical, High, Medium, and Low — with trend arrows showing whether things are improving or worsening |
| SLA Banner | Appears when risks have passed their remediation deadline |
| Risk by Domain | A chart showing where your risk is concentrated: Endpoint, Identity, Network, Cloud, Email, Mobile, OT, External |
| Top 10 Risks | Your highest-scored open findings across all connected tools |
| Connector Health | Status of every connector you have configured — green means data is flowing |
| Threat Activity | Live feed of exploit and threat-actor intelligence relevant to your open findings |
At first the dashboard will show zeros. That is expected — you need to connect at least one tool first.
Step 5 — Connect Your First Tool
Navigate to Tool Catalog in the left-hand navigation.
- Use the search bar or category filter to find your tool (for example, search "Tenable")
- Click the tile — a setup drawer opens on the right
- The drawer shows: - What's pulled — the type of findings URIP retrieves from this tool - Prerequisites — what API permissions you (or your tool administrator) need to set up - Step-by-step credentials form — fill in the fields shown - Link to the vendor's official documentation where you find each credential
- Click Test Connection - Green message means the connection works and data is ready - Red message shows the exact error and how to fix it
- Click Save
Your credentials are stored securely and are never displayed again after saving.
Example: Connecting Tenable
| Field | Where to find it |
|---|---|
| API Access Key | Sign into Tenable.io → Settings → My Account → API Keys |
| API Secret Key | Same page — generate a new key pair if you do not have one |
| API URL | Leave the default value unless you use a self-hosted Tenable instance |
The first data pull runs automatically within 15 minutes of saving.
See CONNECTOR_CATALOGUE.md for all 61 supported tools with setup details. See guides/connectors-setup.md for the full connector wizard walkthrough.
Step 6 — View Your First Risks
After the first connector pull completes (up to 15 minutes):
- Navigate to Risk Register in the left-hand navigation
- Risks appear sorted by score — highest first
- Click any row to open the Risk Detail panel: - Finding name, affected asset, severity - URIP score with a breakdown of what is driving it - Whether this vulnerability is actively being exploited right now (CISA KEV flag) - Likelihood of exploitation in the next 30 days (EPSS probability) - Suggested remediation steps - Which of your tools reported this finding
- To assign a risk to a team member: click Assign → select a user → set a due date
- The assigned user receives an email notification
No risks showing? Navigate to Connector Status in the left-hand navigation. If a connector shows "Error", the credentials may have expired — open the Tool Catalog and re-test.
Step 7 — (Optional) Enable a Compliance Framework
- Navigate to Compliance Frameworks in the left-hand navigation
- Click any framework tile (for example, SOC 2 or ISO 27001)
- The framework activates immediately — controls are evaluated against your existing risk data
- Navigate to Compliance Dashboard to see your score
The compliance dashboard updates within one hour of connector data arriving.
See guides/compliance.md for the full compliance workflow.
What's Next
| Task | Guide |
|---|---|
| Add more connectors | CONNECTOR_CATALOGUE.md |
| Understand risk scoring | USER_GUIDE.md — Risk Scoring |
| Set up compliance frameworks | guides/compliance.md |
| Invite auditors | guides/compliance.md — Auditor Invitations |
| Configure roles and users | guides/admin-settings.md |
| Set up automated remediation | guides/workflows.md |
| Troubleshoot issues | TROUBLESHOOTING.md |
See Also
- USER_GUIDE.md — complete feature reference
- ARCHITECTURE.md — how URIP works
- TROUBLESHOOTING.md — when something goes wrong